
Watch Movement Cleaning Guide
Thorough cleaning of watch movements is one of the most important parts of the watch servicing and restoration process. While some vintage movements have more serious problems, many can be brought back to good running performance simply by cleaning the parts to remove old, dried up lubricants, dirt and debris prior to reassembly and lubrication. This is mostly a straightforward process, but there are some potential pitfalls. In this guide I share the details of my approach to watch movement cleaning during vintage watch servicing, utilizing the basic watch cleaning equipment described in my Basic Watchmaking Tools Guide. This is not a simplified do-it-yourself tutorial, but a detailed overview of an effective cleaning process that has been refined through abundant experimentation, trial and error. It’s certainly not the only way to clean a watch movement - there are nearly infinite variations - but I have achieved consistently good results with my method using a relatively small amount of inexpensive equipment, making this method highly approachable for new amateur watchmakers.
The Setup
Ultrasonic Cleaning
While I service watch movements on a daily basis, I have not (yet) invested in a dedicated watch cleaning machine, and instead rely exclusively on a commercial-quality ultrasonic cleaner to clean my watch movements. This is partially due to space constraints, as well as cost, but I have also developed a strong belief in the ultimate effectiveness of a properly refined ultrasonic cleaning process. At this point, I would not give up my ultrasonic cleaner in favor of a traditional watch cleaning machine, which relies on agitation of the parts to provide cleaning action. I would love to have a modern, sophisticated watch cleaning machine with both agitation and ultrasonic cleaning functions, but they tend to be quite expensive and bulky. For now, ultrasonic cleaning serves me very well. High quality ultrasonic cleaners are relatively inexpensive and easy to find, so my current cleaning method should be simple for amateur watchmakers to reproduce.
In addition to an ultrasonic cleaner, I use a few additional pieces of equipment for my cleaning process. I’ll walk through these here:
Cleaning Solutions
In order to clean the movement, the parts are immersed in various cleaning and/or rinsing solutions that, together with ultrasonic or other forms of agitation, help to loosen, dissolve, or lift contaminants from the part surfaces. I use one cleaning and two different rinsing solutions as part of my process:
L&R #111 Ammoniated Watch Cleaning Solution - This solution does the heavy lifting in the cleaning process, and is excellent for removing all sorts of contaminants, particularly old lubricants.
L&R #3 Watch Rinsing Solution - This is a rinsing solution designed specifically to follow up and remove L&R #111.
99%+ Pure Isopropyl Alcohol - I use this as a final rinse, as it dries quickly and cleanly.
One thing that all of these solutions have in common is that they are anhydrous (water-free). While you can use water-based solutions for watch movement cleaning, it does create some risk of corrosion, so I avoid using it on my movements (watch cases and case parts are another story). Another thing these solutions have in common is that they are flammable, so please handle them with care! As always, please be aware that solvents also require proper ventilation and other safety precautions.
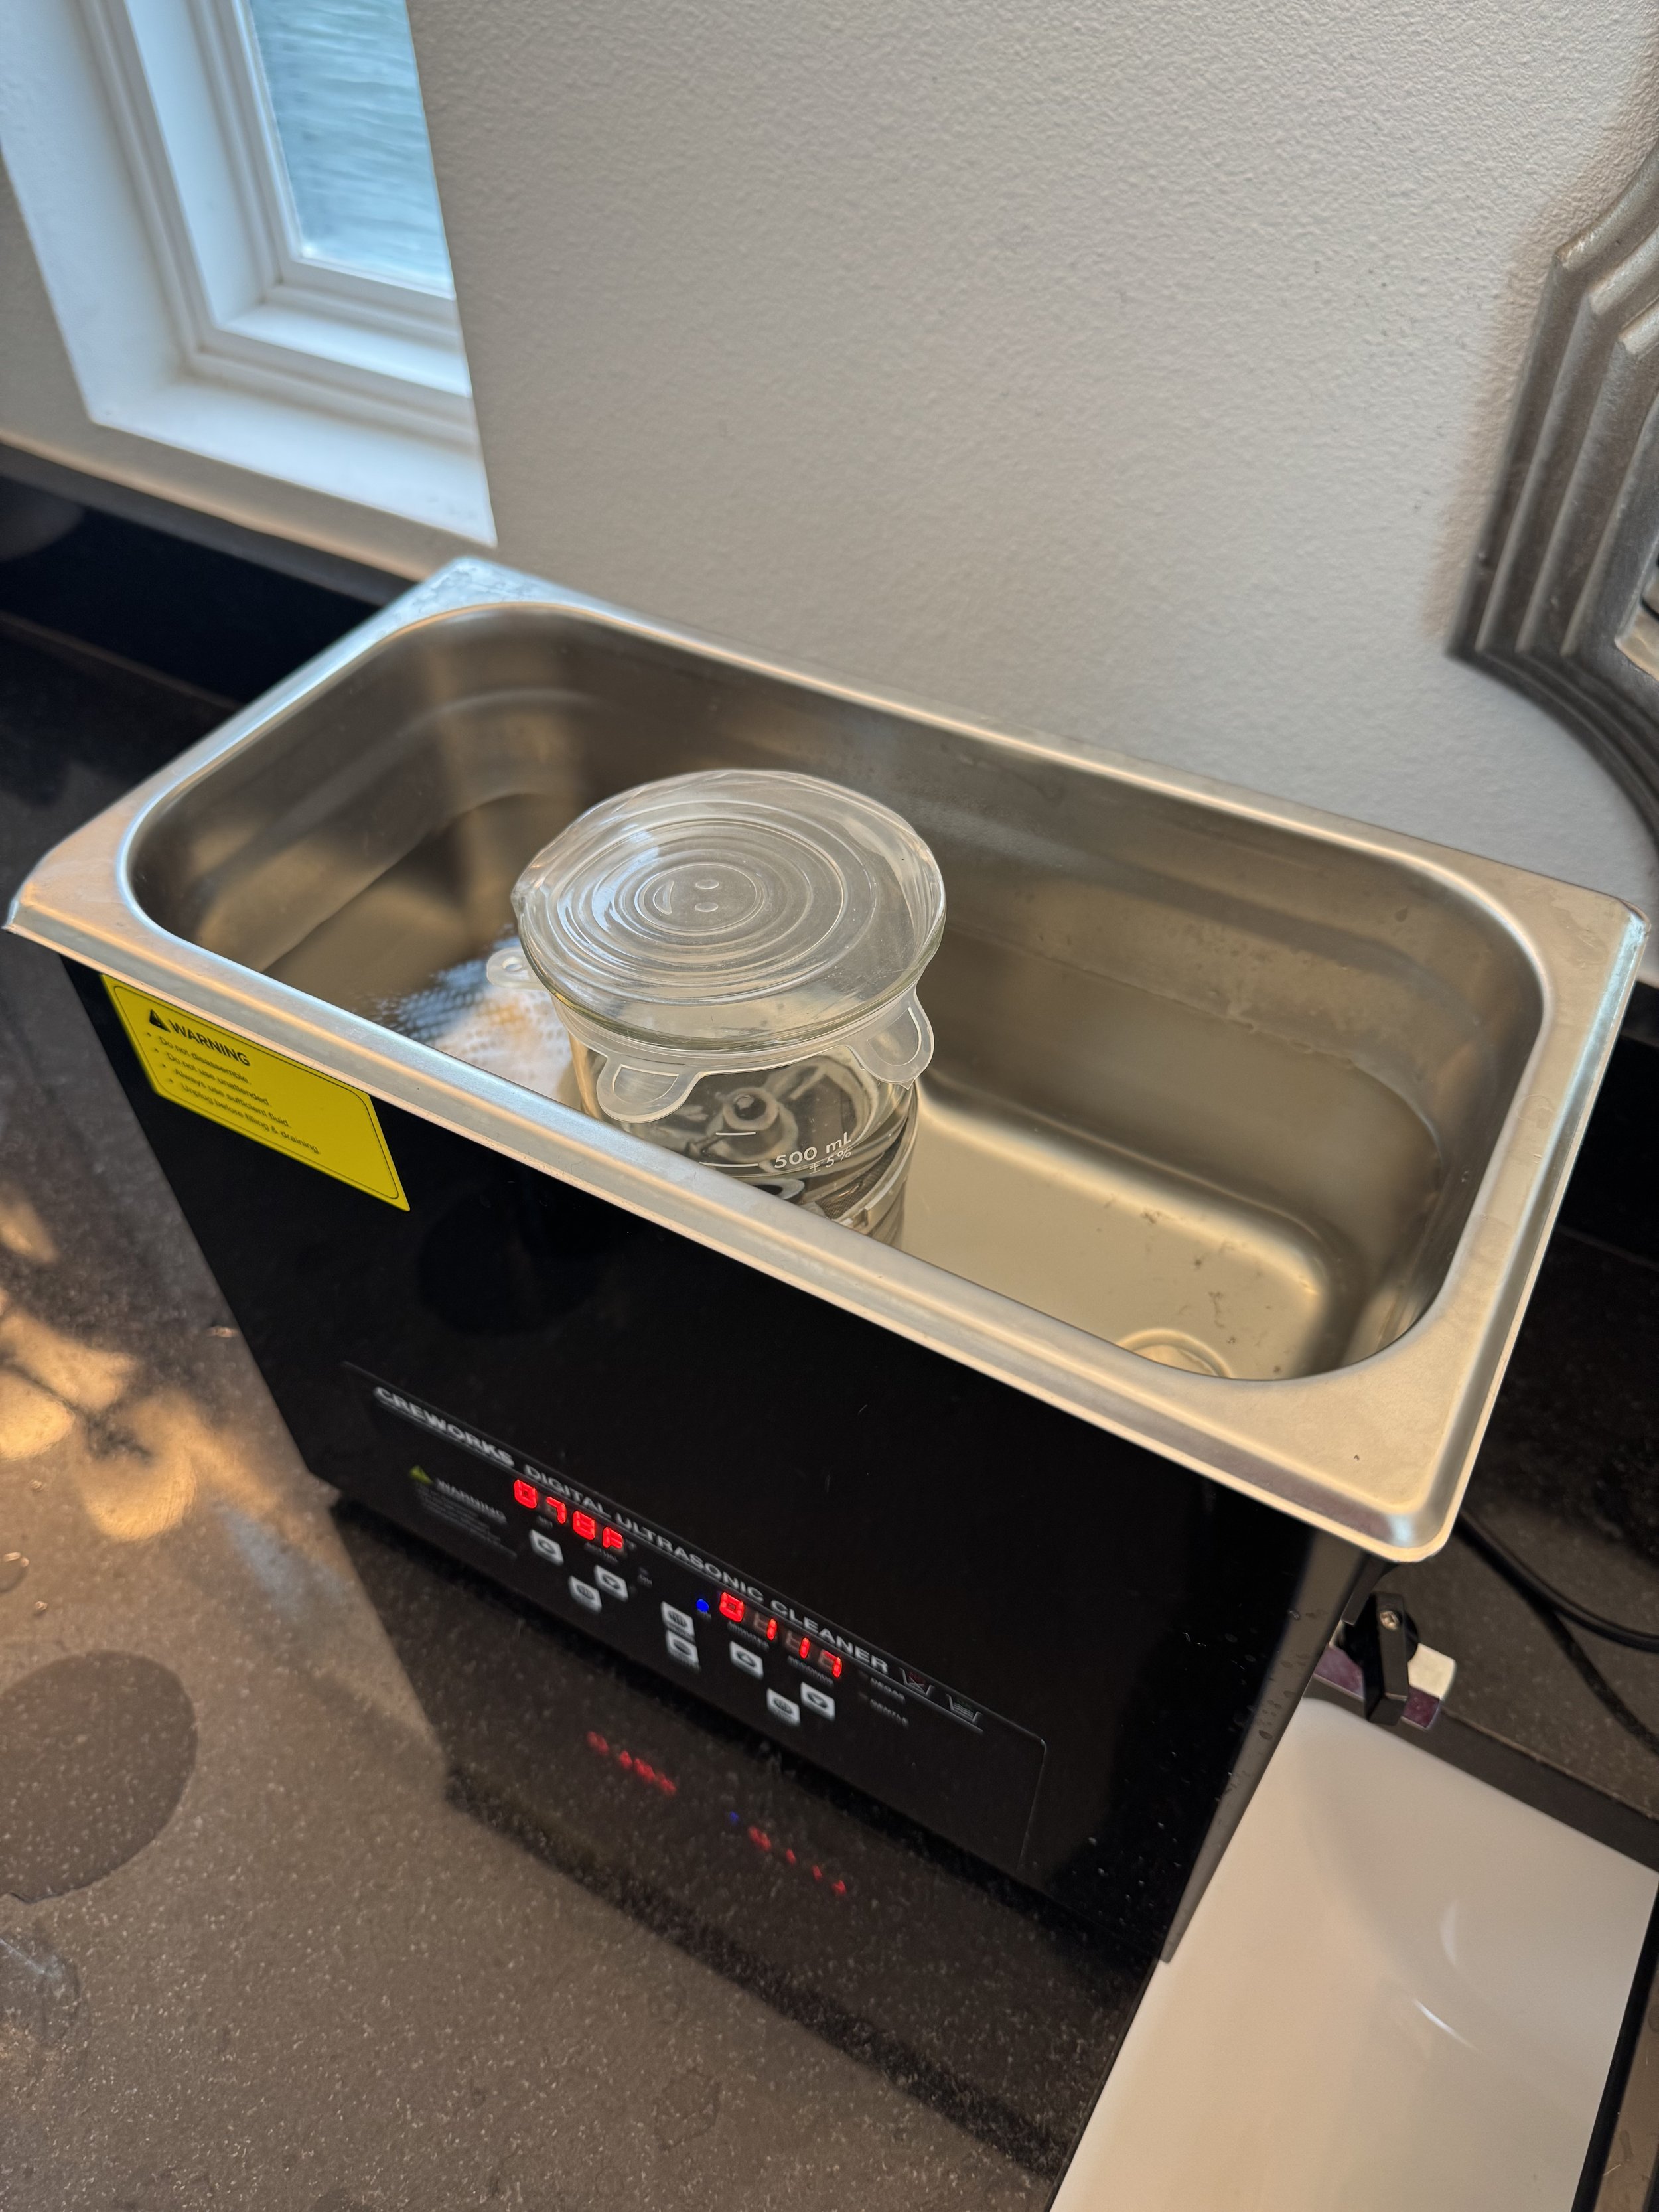
Solution containers
It would be impractical, and possibly dangerous, to fill the tank of a large ultrasonic cleaner with any of the solutions listed above, so please don’t do this! Instead, the solutions should be placed into glass containers, which are in turn immersed in the ultrasonic tank, which can be filled with simple tap water (note - adding a bit of white vinegar or hydrogen peroxide to the ultrasonic tank will keep the water clean for much longer). I have heard that some folks use mason jars for this, but I think Pyrex beakers are a better choice, as the thin, borosilicate glass walls are effectively transparent to ultrasonic waves.
I have found that 600ml tall form beakers are a perfect size for watch cleaning use. While I keep a number of these handy for various tasks, I use three for my basic watch movement cleaning process, one filled (generally to the 400ml line) with each of the solutions listed above. I also use these same containers for storage of the solutions in between cleanings, and for that you need lids. While specific lids made to fit Pyrex beakers are available, they are expensive and hard to find. I instead use simple, inexpensive silicone stretch lids. These work well, although they wear out and need to be replaced occasionally. Because the L&R solutions are rather pungent, I also put the lidded beakers inside a gallon size zip-lock slider bag when I store them.
Parts baskets
Watch parts are quite small, and you’ll want to keep them organized during the cleaning process. For this, fine mesh parts baskets are essential.
While it isn’t the cheapest or easiest-to-find solution, I like to use a watch cleaning machine basket to hold my parts during the cleaning process. You can find these baskets (without the cleaning machine) for sale on AliExpress, among other places. These baskets have a frame that holds a multi-tier stack of round mesh containers with various sized compartments and are (as you would expect) perfect for organizing the parts of a typical watch movement. They also have a fairly standard 70mm diameter, which happens to fit neatly inside the 600ml beakers I use to hold my cleaning solutions.
While you can place even very small parts in these watch machine baskets directly, it is more convenient, and a bit safer, to place the smallest parts inside small container baskets before placing them in the larger watch cleaning basket. I use a set of small (16mm) screw-together brass baskets for this.
You may also want some sort of device to fish the parts basket into and out of the solution containers. I use a simple hook fabricated from a wire coat hanger for this.
Parts drying
Once your parts have made their way through the cleaning process, the clean parts need to be dried before reassembly can begin. There’s really no need for fancy equipment here. A cheap food dehydrator works great, although if you use a large parts cleaner basket as described above you will need to un-stack the tiered baskets to fit them in the dehydrator.


The Process
Safety First
Cleaning parts effectively, but safely, in an ultrasonic cleaner is not as simple as putting your parts in the tank and walking away. Ultrasonic cleaning is gentle overall, but it does have some potential pitfalls. In particular, the ultrasonic waves clean by inducing cavitation at the part’s surface, but this also generates heat. This is generally not a problem. However, standing waves can form at certain points in the solution, which can create hot spots that, over time, have the potential to cause damage, including delamination of rhodium-plating on parts.
To avoid this possibility, I run my ultrasonic cleaner at maximum two minute intervals. After two minutes, I let the parts rest for a few seconds and rotate/move the solution container inside the tank before running a subsequent 2-minute session. This prevents excessive localized heat buildup and avoids hot spots.
Also, I do not clean pallet forks with this process. The jewels in pallet forks are held in by shellac, which can become a bit delicate in vintage watches. This is compounded by my use of IPA as a final rinse - while IPA does not attack shellac nearly as aggressively as ethanol, it will still tend to soften it, so cleaning the pallet fork this way is simply not worth the risk of un-setting a jewel. Instead, I soak the pallet fork in bench solvent (hexane) while the other parts are being cleaned in the ultrasonic.
Preparation
Ultrasonic cleaning with quality cleaning solutions is remarkably effective, but it does have its limits. Extremely dirty movements demand a bit of prep & pre-cleaning. This also helps to extend the life of your solutions. Heavy buildup can be removed manually with a bit of pegwood. Super-oily parts (I have worked on a number of movements that seem like they were dunked in watch oil or WD-40…) can be pre-rinsed with bench solvent (I keep naptha on hand for this, as it is particularly effective for dissolving old grease) and a cleaning brush.
It is a good idea to peg out the jewels as well - meaning taking a piece of sharpened pegwood and turning it in the jewel holes of the movement. This will loosen caked on lubricant and help ensure that the ultrasonic process removes all of it.
This is also a good time to address any rust in the movement. Minor surface rust will be removed by the standard cleaning process, but more deeply rusted parts may need an overnight soak in a chelating agent (e.g. Evapo-rust) to chemically remove the rust before cleaning.
3-2-1
My standard ultrasonic cleaning process is as follows:
3 two-minute cleaning cycles in L&R #111
2 two-minute rinsing cycles in L&R #3
1 two-minute final rinsing cycle in 99% IPA
15+ minutes drying cycle in the dehydrator at 113°F (45°C)
And… that’s it! This process is sufficient to leave the vast majority of movements in a completely clean state as long as the solutions are maintained properly (more on that below). Occasionally I’m faced with an extremely dirty or oily movement, and will add an additional cleaning cycle.

Maintaining Solutions
The old oil and dirt that you clean off of your watch movements doesn’t just vanish. It ends up finely emulsified and suspended in the cleaning solution. Over time, these fine contaminants also make their way to successive rinsing solutions. All this means that the lifetime of cleaning and rinsing solutions is finite, and they will need to be changed out regularly. It’s difficult to set an arbitrary policy on when solutions should be swapped out, since some movements are much dirtier than others, and it’s wasteful & expensive (particularly for the L&R solutions) to dump them prematurely.
I monitor the condition of my L&R solutions by observing the color. The suspension of emulsified oil and fine particles that build up in these solutions tends to induce a bluish tint. The #111 solution, which is yellow when brand new, will gradually turn green, and then blue, with use. By the time it is more blue than green, it is definitely time to swap it out. Similarly, the #3 rinsing solution starts out completely colorless, but will start to get a blue tint with use. Since you want your rinsing solutions to be as clean as possible, I will change the #3 out as soon as it has acquired any sort of obvious blue tint. The IPA final rinse is relatively inexpensive, so I change this quite frequently.